I started auditioning in February of this year and over the past 8 months, I’ve streamlined my process. Everyone has a different process, but I thought I’d share mine. There are affiliate links below for the equipment I use.
My Setup
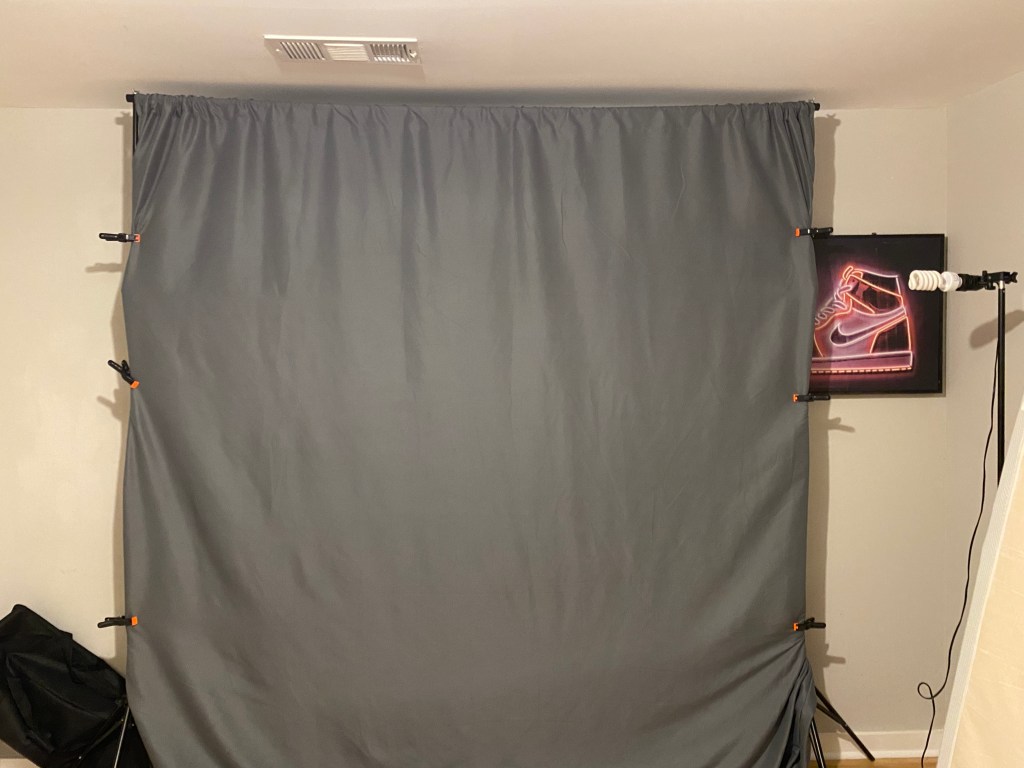
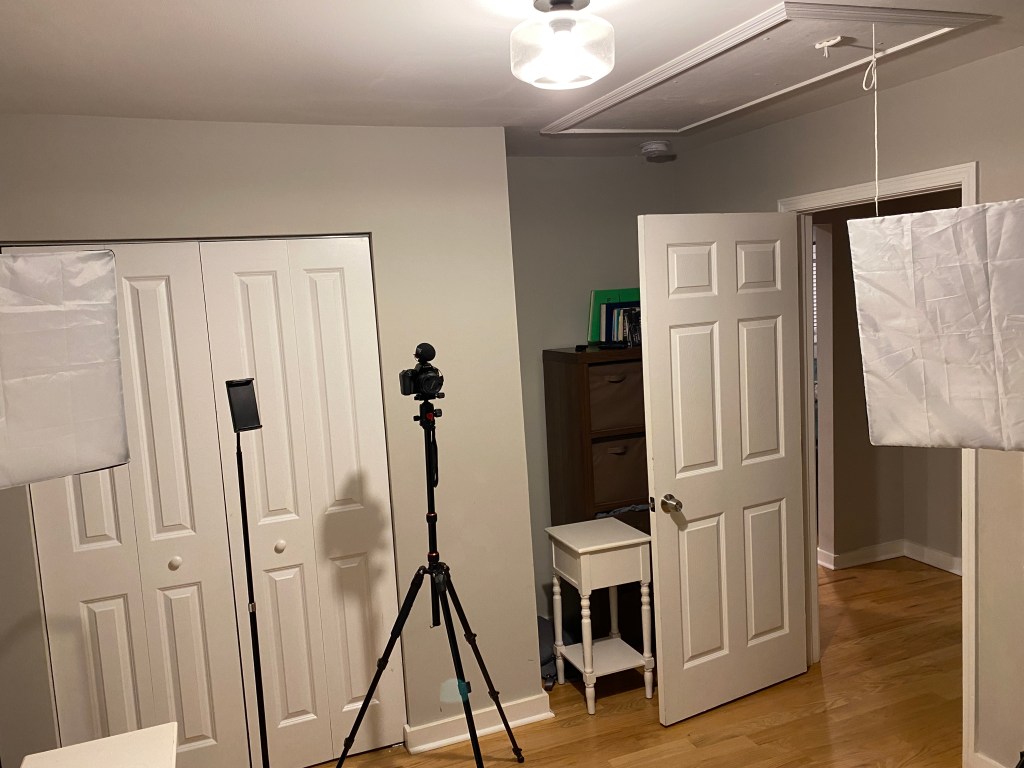
I setup my self tape room in the smaller bedroom of my house. It’s about 10’ x 10’ and since I’m in an Airbnb, the room came furnished. I ended up taking apart the bed, throwing it in a closet and moved the nightstands to use for props when I need something to sit behind when I’m taping (like a desk). My camera is a Canon EOS Rebel SL3. My camera sits on a 75″ tripod. It’s a an upgraded tripod from my old one and it’s a lot more stable. On top of my Canon sits a RØDE VideoMicro II Ultra-Compact On-Camera Shotgun Microphone. It’s directional and it picks up the actor’s lines. Since my reader is behind the camera, it softens them a bit but still remains clear. My backdrop and lights came as a kit. Unfortunately, the backdrop colors were black, white and green. Most casting agents prefer a gray or dark blue backdrop, so I bought a gray one. My light setup are two box lights in front of me to my right and left. And a backlight which reduces the shadows on the backdrop.
Kurt Yue has a great video on lighting for self tapes.
I use my ipad as a teleprompter. There’s a free app called Teleprompter that works well and I have my ipad on a stand. It doubles as my eye line. I never memorize for my auditions. I know a lot of actors don’t agree with this, but it works for me and I book a lot.
Audition Prep
After I get an audition request, I download the sides and instructions to my computer in a folder that I name whatever the project is called. I note the due date, slate instructions and any character notes.
My next step is to read over the sides multiple times to understand the scene and the character. If there isn’t much as far as character description. I decide on how to play the character based on the scene and make up a backstory in order to develop the character. Once I do that, I search my “experience bank” to find a similar situation that I’ve been in so I can connect myself to the character and pull an emotional state or states to use during the scene.
Clothing and Hair
Once I feel like I am comfortable with the lines and know how I will deliver them, I decide on what to wear that best conveys the character. I don’t have a ton of clothes, so it’s usually as simple as a dress shirt, casual dress shirt, a polo, or a t shirt. Then I decide on hair up in a bun (more professional) or hair down.
My Readers
I usually use an actor friend as a reader. I prefer in person readers, but will use a friend on Zoom if no one is available to come over. It makes no difference if the reader is male or female, but I do prefer my reader to act out the lines and not just read them. I’ll usually go through the scene once or twice with the reader so I know they are comfortable with their lines and we can adjust for any notes I have for them. Usually it’s beats or interruptions and making sure they are timed correctly.
The Audition
When I first started auditioning, I was doing a bunch of takes. Sometimes 10. Nowadays, I never do more than three takes and most times it’s two. The first take usually is a throwaway to get comfortable. Because I take a lot of time to prepare for my auditions, the actual audition is quick.
Slate
I hate doing slates and often wonder if anyone even watches them. I especially hate doing full body slates. I always slate on my own and I always do it in one take. Because I do it alone, the full body slate takes time to setup correctly in order to get the right framing.
Editing My Auditions
I am a Mac guy and I always edit my auditions, including doing some unconventional things. iMovie on the Mac is an easy video editing software to use and it’s free. I use it to clip out any part of the audition that doesn’t belong; splice the full body shot onto the end of the slate; and I always add a vignette filter to all my videos.
Uploading
I check my audition a minimum of three times. Once after I record it. I can’t tell you how many times I missed pushing the record button or stopped recording when I thought I was starting it. Once after I edit, to make sure my edits were correct. And once after I upload it. I always watch the audition and slate in full after I upload and before I click send. If I am not getting a role, I don’t want it to be because of a technicality.

3 thoughts on “Streamlining Your Self-Tape Audition Process: Tips, Tricks, and Equipment”